
Short Answer
| An RV battery disconnect switch stops working mainly due to corrosion on the terminals, a blown fuse, a faulty switch, or loose wiring connections. Start by inspecting the switch and wiring for visible damage or corrosion. Cleaning the terminals or replacing the switch often solves the problem in under 30 minutes. |
Introduction
If your RV battery disconnect switch is not working, you are not alone. This is one of the most common electrical complaints among RV owners and it can happen at the worst possible moment.
The disconnect switch plays a critical role in your RV’s electrical system. It cuts power from the battery to protect against drains when your vehicle is parked. When it fails, you may find dead batteries, electrical accessories that won’t respond, or a switch that simply clicks with no result.
Understanding why this happens and how to fix it can save you time, money, and a frustrating trip to the repair shop. In this guide, you will learn the most common causes, how to diagnose the problem yourself, and practical solutions you can apply today.
Real-World User Experience
Many RV owners first discover this issue when they return after a long winter storage period. They flip the disconnect switch expecting power to flow, but nothing happens. Others notice the problem mid-trip when a switch that worked yesterday suddenly stops responding.
A common scenario: the switch clicks but the batteries remain completely drained, or devices inside the RV stay unresponsive even after confirming the batteries are fully charged. These are clear signs that the disconnect circuit has a fault somewhere.
Quick Diagnostic Checklist
Before diving into detailed troubleshooting, run through this quick checklist:
- Confirm the battery is charged and has voltage
- Inspect the disconnect switch for visible cracks or burn marks
- Check all fuses related to the battery circuit
- Look for corroded or loose wiring terminals
- Test the switch continuity with a multimeter
- Verify wiring connections at both the switch and battery
Common Causes of an RV Battery Disconnect Switch Not Working
1. Corrosion on Terminals
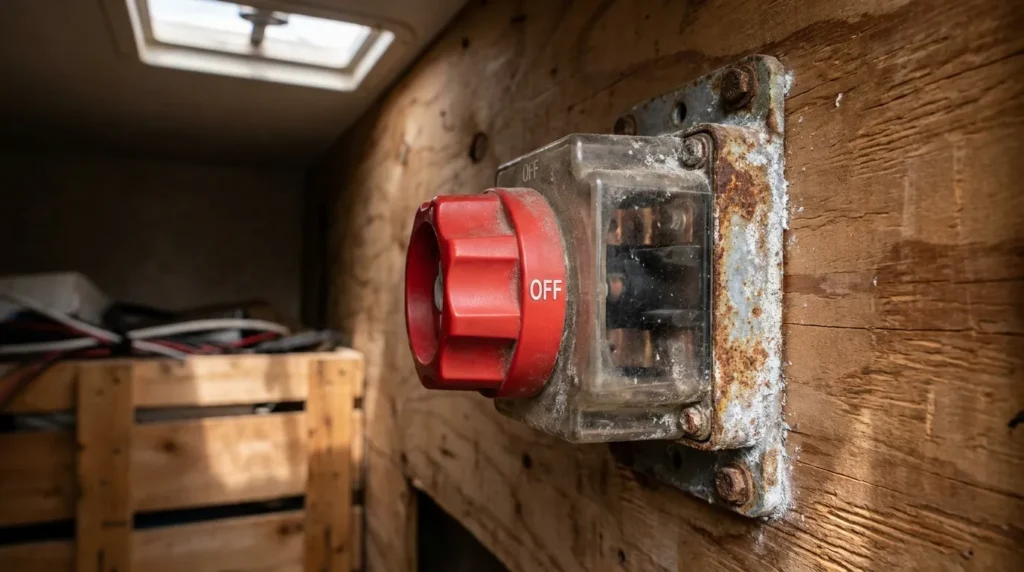
Corrosion is the number one culprit. Battery acid vapors eat away at metal contacts over time, especially in humid climates or after long storage periods. You will notice a white or bluish powder around the battery posts or switch terminals.
When corrosion builds up, it creates resistance that interrupts the electrical circuit. Even a small amount can prevent the switch from functioning correctly.
2. Faulty or Worn-Out Switch
Like any mechanical component, disconnect switches wear out. Internal contacts become pitted or burned after years of use. The switch may feel fine externally but have failed internally.
A switch that sparks when toggled or requires heavy force to move is usually near the end of its life.
3. Blown Fuse
Most RV electrical systems include fuses along the battery circuit. A power surge, short circuit, or overloaded system can blow a fuse instantly. When this happens, the disconnect switch has no power to control.
This is often overlooked because the fuse panel may be in a less visible location inside the RV.
4. Loose or Broken Wiring
Vibration from driving on rough roads can loosen wiring connections over time. A wire that has come loose from the switch or battery terminal can completely break the circuit.
In some cases, the wiring insulation may be damaged, causing a short circuit.
5. Parasitic Drain or Dead Battery
Sometimes the disconnect switch itself is working fine, but a completely dead battery makes it appear broken. A battery below 10.5 volts may not have enough charge to power anything, leaving you thinking the switch has failed.
Signs and Symptoms To Watch For
- The switch clicks but no power is restored
- Battery drains completely overnight even when the switch is open
- Accessories flicker or behave erratically
- Visible sparking when you flip the switch
- Burning smell near the switch or battery area
- Switch lever feels loose or physically damaged
- Battery voltage reads normal but the coach has no power
Troubleshooting Quick Reference Table
| Symptom | Likely Cause | First Action |
| No power after flipping switch | Blown fuse or corrosion | Check fuse panel; clean terminals |
| Switch clicks, nothing happens | Faulty switch internally | Test with multimeter; replace switch |
| Battery drains fast overnight | Parasitic drain or bad switch | Check for loads; test switch continuity |
| Burning smell | Short circuit or overloaded wire | Disconnect immediately; inspect wiring |
| Sparking when toggled | Worn contacts or poor connection | Inspect terminals; replace switch |
Step-by-Step Solutions for an RV Battery Disconnect Switch Not Working
Step 1 – Check and Recharge the Battery
What To Check: Confirm the battery has adequate voltage before blaming the switch.
Tools Needed: Multimeter or battery tester.
How To Fix It: Set your multimeter to DC voltage. Touch the red probe to the positive terminal and the black probe to the negative terminal. A healthy 12V battery should read 12.6V or higher. If it reads below 12V, charge it fully before proceeding.
Expected Result: Battery reads 12.6V or above.
Common Mistake: Skipping this step and replacing expensive components unnecessarily.
Step 2 – Inspect the Disconnect Switch Visually
What To Check: Look for cracks, burn marks, corrosion, or physical damage to the switch body.
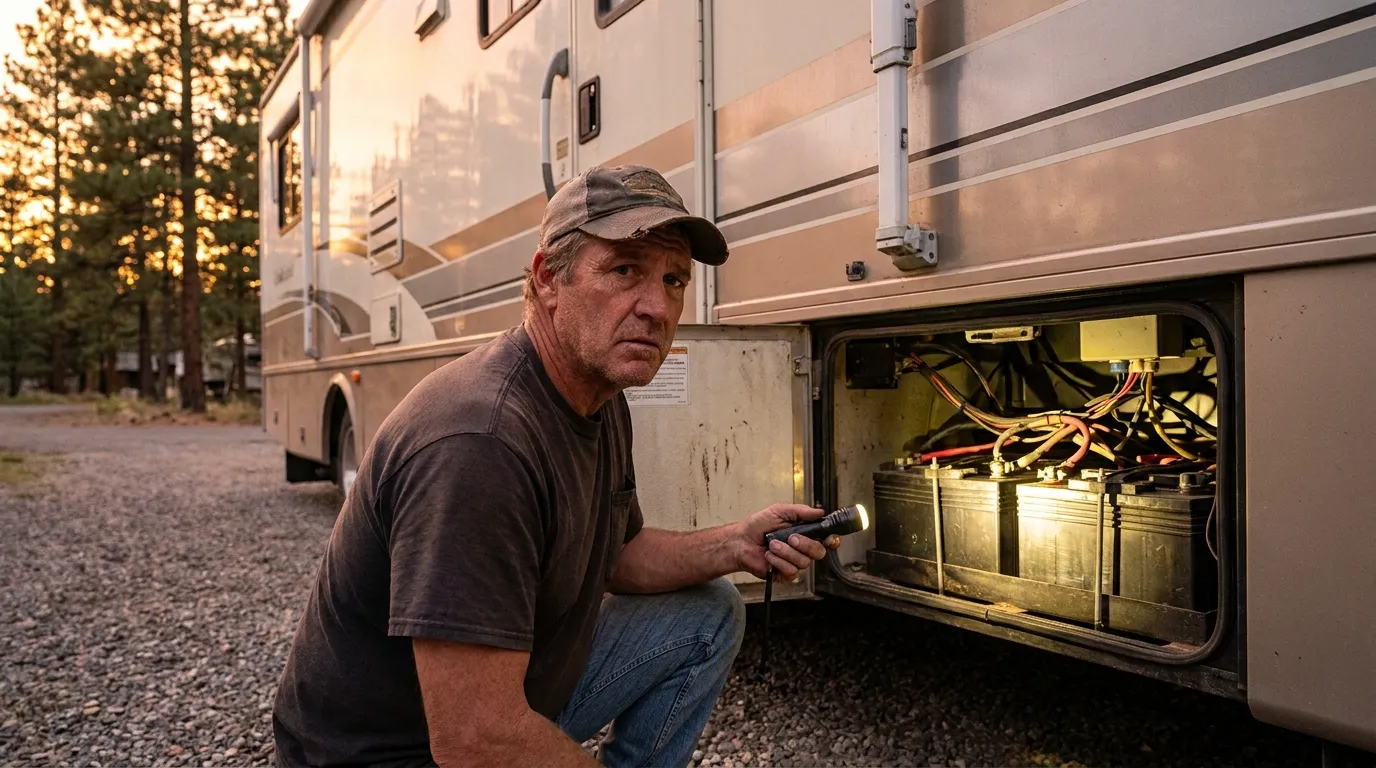
Tools Needed: Flashlight, safety gloves.
How To Fix It: Power down all systems before inspecting. Look closely at the switch housing and any exposed metal contacts. Corrosion appears as white or bluish powder. Burns appear as darkening or melted areas.
Expected Result: Switch looks clean and undamaged.
Common Mistake: Touching terminals with bare hands while the battery is connected.
Step 3 – Clean Corroded Terminals
What To Check: Any corrosion on the switch terminals or battery posts.
Tools Needed: Baking soda, water, wire brush, clean cloth, terminal grease.
How To Fix It: Disconnect the battery before cleaning. Mix one tablespoon of baking soda with one cup of water. Apply to corroded areas with a brush and scrub until the powder dissolves. Rinse with clean water and dry thoroughly. Apply a thin coat of terminal grease to prevent future corrosion.
Expected Result: Clean, shiny metal contacts throughout the circuit.
Common Mistake: Skipping the grease step, which invites corrosion to return quickly.
Step 4 – Check and Replace Blown Fuses
What To Check: All fuses connected to the house battery circuit.
Tools Needed: Fuse puller, replacement fuses (correct amperage), multimeter.
How To Fix It: Locate your RV fuse panel typically near the battery or inside a converter box. Pull each fuse and inspect the filament. A blown fuse will have a broken filament or dark burn mark inside the glass. Replace with exact amperage fuses only.
Expected Result: All fuses intact with no broken filaments.
Common Mistake: Using a higher-amperage fuse as a substitute — this is a fire hazard.
Step 5 – Test the Switch With a Multimeter
What To Check: Whether the switch is passing current when toggled.
Tools Needed: Multimeter set to continuity or resistance mode.
How To Fix It: Disconnect the wires from the switch. Touch the multimeter probes to the two switch terminals. Toggle the switch. In the ON position, you should get a continuity beep or near-zero resistance. In the OFF position, there should be no continuity. If the switch fails either test, it needs to be replaced.
Expected Result: Clear continuity in ON position; no continuity in OFF position.
Common Mistake: Testing with wires still connected, which gives inaccurate readings.
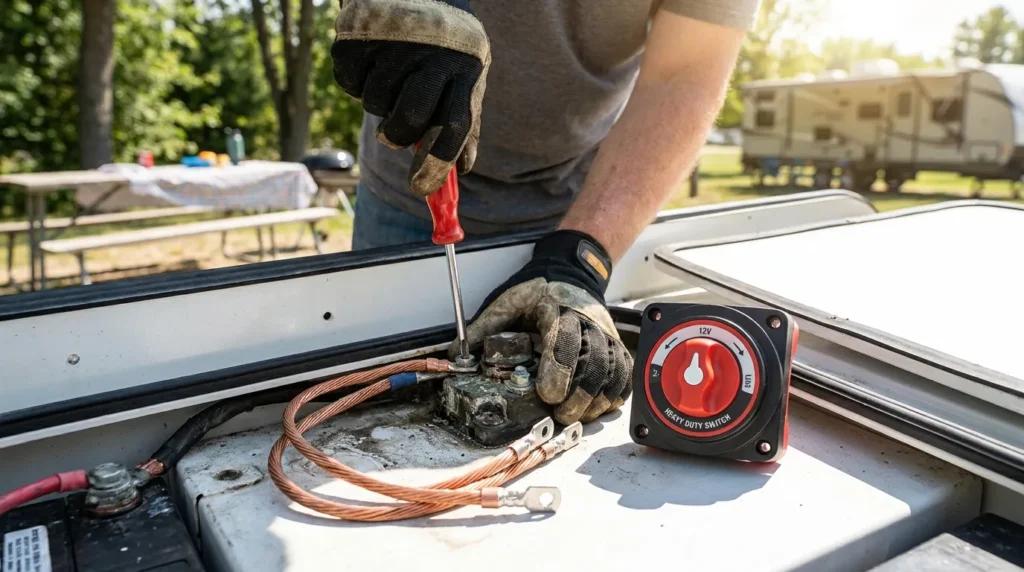
Step 6 – Replace the Disconnect Switch
What To Check: Whether the old switch is confirmed faulty.
Tools Needed: Replacement switch (matching amperage rating), screwdriver, wire connectors, electrical tape.
How To Fix It: Purchase a replacement switch rated for at least the same amperage as the original. Photograph the wiring connections before removing anything. Disconnect the old switch, connect the wires to the new switch in the same configuration, and secure all connections firmly. Use electrical tape or heat shrink on any exposed wiring.
Expected Result: New switch passes current correctly and restores power.
Common Mistake: Installing an undersized switch that overheats or fails quickly.
Also Read: RV Electrical Outlet Not Working but Breaker Not Tripped
Understanding Related RV Electrical Components
Your disconnect switch is part of a larger system. Understanding these connected components helps you troubleshoot more effectively:
- Battery: The power source for all 12V systems in your RV.
- Converter: Converts shore power (120V AC) to 12V DC to charge your battery.
- Inverter: Converts 12V DC battery power to 120V AC for household appliances.
- Fuse Panel: Protects each circuit with appropriately rated fuses.
- Ground Wires: Provide the return path for electrical current a loose ground can mimic a failed switch.
- Battery Monitor: Some RVs have a monitor that shuts off power automatically when battery voltage drops too low.
Safety Precautions Before You Start
- Always disconnect shore power before working on battery circuits.
- Wear insulated gloves to protect against accidental shorts.
- Keep a fire extinguisher nearby when working near batteries.
- Never smoke or use open flames near battery banks batteries emit flammable hydrogen gas.
- If you smell burning plastic or see smoke, stop immediately and call a professional.
If you are not comfortable working with electrical systems, it is always safer to consult a qualified RV technician. Electrical mistakes can damage expensive components or create fire hazards.
How To Prevent This Problem In The Future
- Inspect battery terminals twice a year for corrosion buildup.
- Apply terminal grease or anti-corrosion spray after every cleaning.
- Test your disconnect switch at the start of every camping season.
- Install a battery monitor to track voltage levels and catch drains early.
- Store your RV with the disconnect switch in the open (OFF) position to prevent slow drains.
- Check wiring connections along the battery circuit annually, especially after long road trips.
- Replace aging batteries before they fail most RV batteries last 3–5 years.
Related Problems and Internal Linking Opportunities
- RV battery not charging while plugged in
- RV converter not charging battery
- How to test an RV battery with a multimeter
- RV electrical outlet not working
- RV battery maintenance tips for long-term storage
Also Read: RV Battery Not Charging While Plugged In
When Should You Call a Professional?
In many cases, the fixes above are well within the ability of a handy RV owner. However, call a certified RV electrician if you notice:
- Burning smells that persist even after disconnecting the battery.
- Wiring that shows melting, brittleness, or visible arcing.
- The battery case is cracked, swollen, or leaking acid.
- The problem returns immediately after a repair.
- Your RV has multiple electrical systems failing at once.
Electrical fires in RVs are serious. Do not take chances with uncertain repairs if safety is in question.
Common Mistakes People Make When Troubleshooting
- Replacing the switch without testing it first wasting money on a part that was fine.
- Using the wrong fuse amperage a higher-amp fuse will not blow when it should, risking a fire.
- Testing with the battery still connected this can give false multimeter readings.
- Ignoring corroded ground wires a bad ground often mimics a failed switch perfectly.
- Forgetting to photograph wiring before removal leads to incorrect reinstallation.
(FAQs)
1. What does an RV battery disconnect switch actually do?
It physically breaks the circuit between your RV’s battery and the 12V electrical system. When in the open position, it prevents the battery from powering anything in the coach, which protects against slow drains during storage.
2. Why is my RV battery disconnect switch not working after winter storage?
Winter storage is one of the most common times for this problem to appear. Cold temperatures accelerate corrosion on terminals, and a battery that was not fully charged before storage may have sulfated or discharged completely. Start by cleaning the terminals and testing battery voltage.
3. Can a bad ground wire cause my disconnect switch to stop working?
Yes, absolutely. A loose or corroded ground wire can interrupt the circuit just as effectively as a failed switch. Always check ground connections when troubleshooting any RV electrical issue.
4. How do I know if my RV disconnect switch is blown or just corroded?
Test it with a multimeter in continuity mode with the wires disconnected. If you get no reading in the ON position, the internal contacts have failed. If continuity is present but the system still won’t work, the problem lies elsewhere in the circuit likely corrosion, a blown fuse, or wiring.
Is it safe to bypass the battery disconnect switch temporarily?
It is possible but not recommended. The disconnect switch is a safety device. Bypassing it permanently could lead to battery drain, fire risk, or accidental shorts. A temporary bypass to diagnose the problem is sometimes acceptable, but replace the faulty switch as soon as possible.
Conclusion
An RV battery disconnect switch not working is a frustrating but usually fixable problem. In most cases, the culprit is corrosion, a blown fuse, faulty internal contacts, or a loose wire all of which you can address with basic tools and a little patience.
Start with the simplest checks: verify battery charge, inspect terminals for corrosion, and check the fuse panel. If those look good, test the switch itself with a multimeter. A confirmed bad switch is inexpensive to replace and straightforward to install.
Prevention is even easier than repair. Clean your terminals twice a year, store your RV with the disconnect switch open, and test the switch at the start of every season. These habits will keep your RV electrical system reliable for years to come.
If the problem persists after following these steps, or if you notice any signs of a more serious electrical issue, do not hesitate to consult a certified RV technician. Your safety is always worth the cost of professional advice.
1 thought on “RV Battery Disconnect Switch Not Working? Here’s How To Fix It”