
Quick Answer
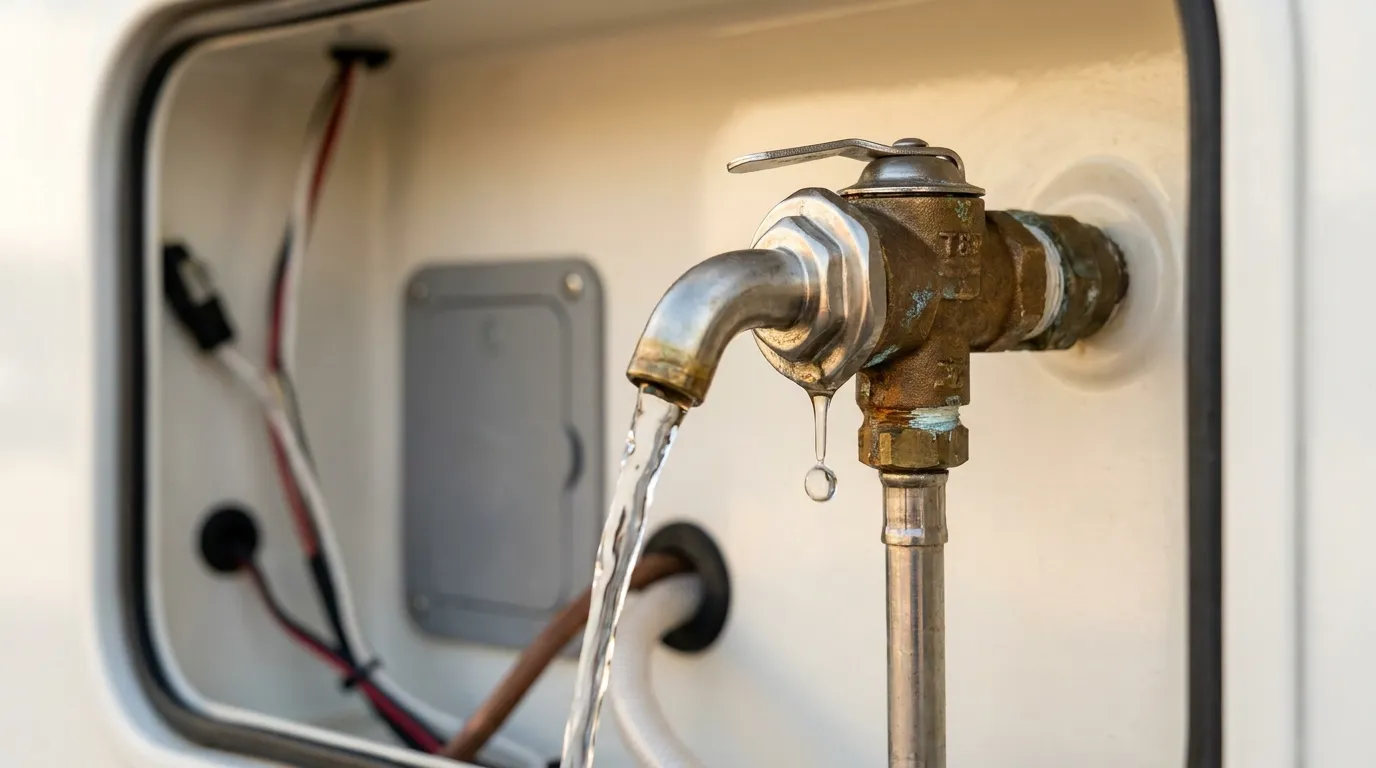
An RV water heater pressure relief valve (T&P valve) leaks when it detects dangerously high water pressure or temperature and opens to release it. This is sometimes normal, but persistent or heavy leaking usually signals a faulty valve, excessive water pressure, a failing expansion tank, or a thermostat problem. Most issues can be diagnosed and fixed in under an hour.
Introduction
If you have noticed water dripping or gushing from a small valve on the side of your RV water heater, you are not alone. A leaking pressure relief valve is one of the most common water heater issues RV owners encounter, and it can range from a minor annoyance to a sign of a serious underlying problem.
The pressure relief valve, often called a T&P valve (temperature and pressure), is a built-in safety device. It is designed to open and release water when pressure or temperature inside the tank rises to unsafe levels. Understanding why it leaks is the first step toward fixing it correctly and keeping your RV’s plumbing system running safely for years.
In this guide, you will learn exactly what causes this valve to leak, how to diagnose the problem step by step, safe repair methods, and how to prevent the issue from returning.
What Many RV Owners Experience
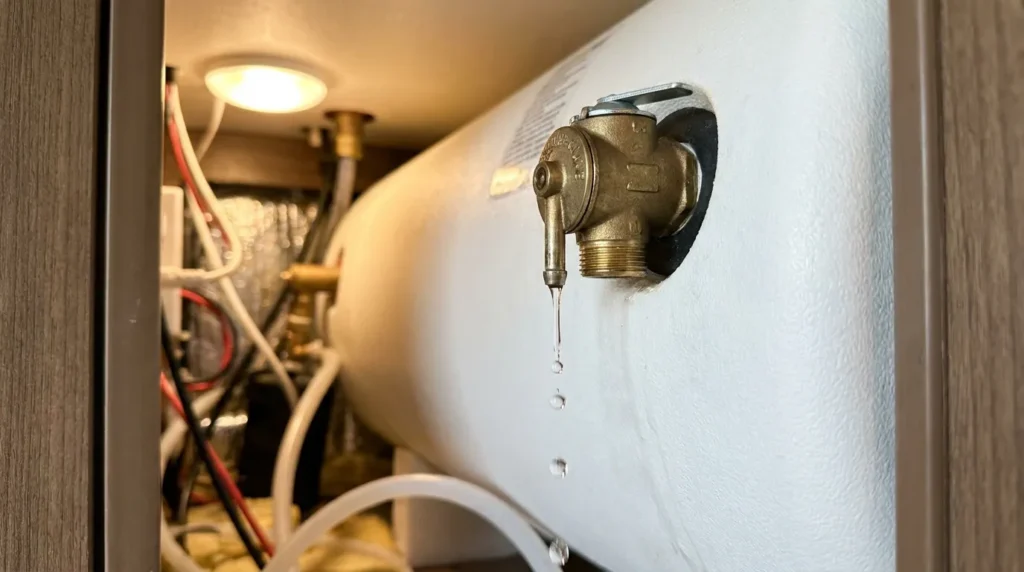
Many RV owners first discover this issue when they spot a small puddle beneath the water heater compartment or notice water trickling from a discharge tube on the outside of the rig. In some cases, the valve drips only when the water heater is running, which can make it easy to overlook until the problem worsens.
Some campers assume the drip is normal and ignore it for weeks. Others panic and immediately shut off the water heater entirely. The right approach is somewhere in the middle: take it seriously, investigate the cause, and fix it before it causes water damage or creates a safety hazard.
Quick Diagnostic Checklist
Before diving into troubleshooting, run through this fast checklist:
- Check if the discharge tube is warm or dripping
- Measure your incoming water pressure with a gauge
- Inspect the valve body for corrosion or mineral buildup
- Check the water heater thermostat setting
- Look for signs of water damage around the heater compartment
- Note whether the leak is constant or only when the heater runs
Common Causes of an RV Water Heater Pressure Relief Valve Leaking
1. Excessive Water Pressure
This is the most frequent culprit. If your campsite water supply or city water hookup is delivering pressure above 80 PSI, the T&P valve will open to protect the tank. Many RV water systems are only rated for 45 to 80 PSI.
How to identify it: Use an inexpensive water pressure gauge (available at any hardware store) to measure the incoming supply pressure at your hookup. If it reads above 80 PSI, you need a pressure regulator.
2. Worn or Failing T&P Valve
Over time, the T&P valve itself degrades. Mineral deposits, sediment, and heat cycles cause the internal spring and seat to wear out. A faulty valve may drip or leak even when pressure and temperature are within normal range.
How to identify it: If pressure and temperature are normal but the valve still leaks, the valve itself has likely failed. Valves older than 3 to 5 years are prime suspects.
3. Thermal Expansion
When water heats up in a closed plumbing system, it expands. If your RV lacks a working expansion tank or a check valve is trapping pressure inside the system, the T&P valve may open to relieve this thermal expansion repeatedly.
How to identify it: The valve drips mainly right after the water heater finishes heating, then stops. The leak is cyclical, not constant.
4. Water Heater Thermostat Set Too High
If the thermostat is set above the valve’s temperature rating (typically 210 degrees Fahrenheit), the valve will open to release heat. This is actually the valve doing its job, but it signals a thermostat problem.
5. Sediment Buildup Inside the Valve
Mineral deposits can lodge inside the valve seat, preventing it from fully closing after relieving pressure. This results in a slow, persistent drip even when conditions are normal.
Signs and Symptoms to Watch For
- Water dripping or streaming from the discharge tube
- Puddles beneath the water heater compartment
- Intermittent dripping that starts and stops when the heater runs
- Rust or corrosion stains around the valve body
- Hissing sounds near the water heater
- Reduced hot water pressure throughout the RV
- Mineral buildup (white or yellowish deposits) near the valve
Troubleshooting Overview: Common Causes at a Glance
| Symptom | Likely Cause | Quick Fix |
| Drips only when heater runs | Thermal expansion | Add expansion tank or pressure regulator |
| Constant drip regardless of heater | Faulty valve or high pressure | Test pressure; replace valve |
| Heavy flow from discharge tube | Critically high pressure/temp | Shut off heater; call professional |
| Drip with visible mineral deposits | Sediment in valve seat | Flush or replace valve |
| Valve old (5+ years), no known cause | Aged valve degradation | Replace valve proactively |
Step-by-Step Solutions
Step 1: Check and Regulate Water Pressure
What To Check:
Hook up a pressure gauge to your water supply connection before it enters the RV.
Tools Needed:
Water pressure gauge (under $15 at hardware stores or Amazon).
How To Fix It:
If pressure exceeds 80 PSI, install a water pressure regulator between the city water hookup and your RV inlet. Set it to 45 to 60 PSI.
Expected Result:
The valve stops opening due to excess pressure once supply is regulated.
Common Mistake To Avoid:
Do not skip this step. Many RV owners replace the T&P valve without checking pressure, only to have the new valve fail again within weeks.
Step 2: Test the T&P Valve
What To Check:
Carefully lift the lever on the T&P valve to manually open it for two to three seconds, then release it. It should snap shut cleanly and stop dripping within a minute.
Tools Needed:
None for testing. Replacement valve if needed.
How To Fix It:
If the valve continues dripping after testing, or if it does not open when you lift the lever, replace it immediately. Match the BTU rating and pressure rating on the old valve when buying a replacement.
Expected Result:
A healthy valve snaps shut and stays dry after testing.
Common Mistake To Avoid:
Never leave the valve lever lifted for more than a few seconds. Sediment can dislodge and prevent the valve from reseating.
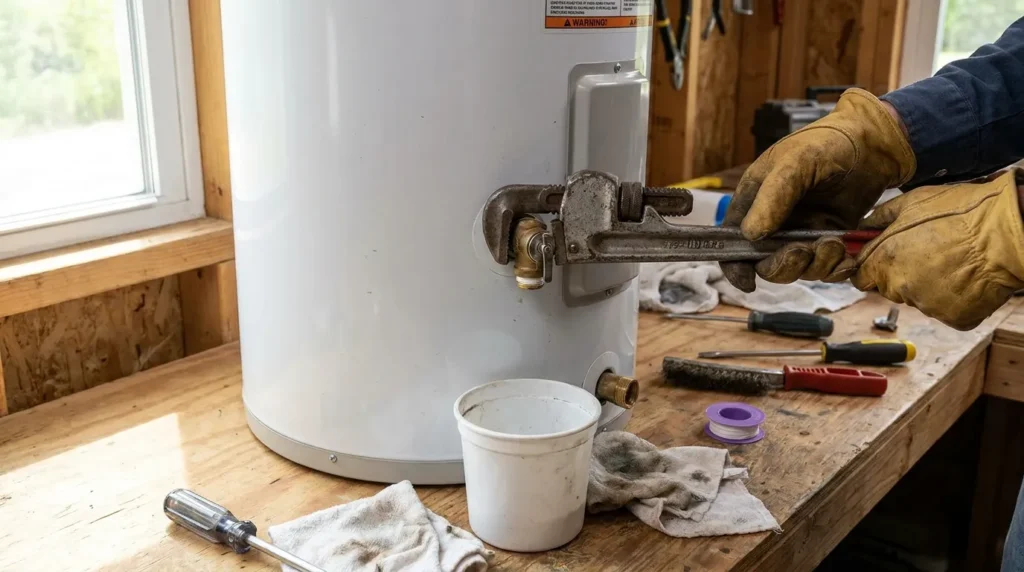
Step 3: Replace the T&P Valve (If Needed)
- Turn off the water heater completely and let it cool for at least two hours.
- Turn off the water supply and relieve pressure by opening a hot water faucet.
- Place a towel or bucket under the valve to catch water.
- Use a pipe wrench to unscrew the old valve counterclockwise.
- Wrap the threads of the new valve with plumber’s tape (2 to 3 wraps).
- Thread in the new valve by hand, then tighten with the wrench. Do not overtighten.
- Reconnect the discharge tube to the new valve outlet.
- Restore water supply and check for leaks before turning the heater back on.
Also Read: RV Water Pump Runs Constantly With No Leaks – Problem Solved
Step 4: Address Thermal Expansion
What To Check:
If the leak only occurs right after heating cycles, thermal expansion is the issue. Check whether your system has a check valve or backflow preventer that closes off the supply line.
How To Fix It:
Install a thermal expansion tank on the cold water inlet side of your water heater. This provides a cushion that absorbs pressure spikes during heating without triggering the T&P valve.
Step 5: Check and Adjust the Thermostat
Locate the thermostat dial on your RV water heater (usually behind an access panel). Set it no higher than 120 degrees Fahrenheit for normal use. Values above 130 degrees put repeated stress on the T&P valve and accelerate wear.
Related RV Water Heater Components Worth Understanding
The T&P valve does not work in isolation. These related components affect how it performs:
- Anode Rod: Protects the tank from corrosion; a failing anode rod leads to sediment that can clog the valve.
- Thermostat: Controls water temperature; a faulty thermostat can cause overheating that triggers the valve.
- Pressure Regulator: Limits incoming water pressure before it reaches the tank.
- Expansion Tank: Absorbs pressure from thermal expansion to reduce valve cycling.
- Check Valve / Backflow Preventer: If installed incorrectly, can create a closed system that builds pressure.
Safety Precautions Before You Start
Working on a water heater involves hot water, gas, or electrical connections. Keep these precautions in mind:
- Always turn off the water heater and allow it to cool fully before working on it.
- If you have a gas water heater, shut off the gas supply at the valve.
- Never point the discharge tube toward yourself or bystanders when testing the T&P valve.
- Hot water scalding is a real risk; wear heat-resistant gloves when handling components.
- If the valve is releasing large amounts of water at high pressure, do not attempt repairs yourself. Shut off the heater and water supply and call a licensed RV technician.
How To Prevent Your RV Water Heater Pressure Relief Valve From Leaking Again
- Install a quality water pressure regulator and always use it at campsite hookups.
- Test your T&P valve once per year by lifting the lever briefly to confirm it opens and reseats.
- Replace the T&P valve every 3 to 5 years as part of routine maintenance, even if it appears to be working.
- Flush the water heater tank at least once per season to reduce sediment buildup.
- Keep the thermostat at or below 120 degrees Fahrenheit.
- Inspect the discharge tube for blockages; a clogged tube can cause back-pressure issues.
- Consider adding a thermal expansion tank if your RV uses a check valve or backflow preventer.
Related Problems and Internal Linking Opportunities
- RV water heater not producing hot water
- RV water pump making noise but no water pressure
- RV water heater anode rod replacement guide
- How to winterize your RV water heater
- RV water pressure too high at campground hookup
Also Read: RV Battery Disconnect Switch Not Working? Here’s How To Fix It
When Should You Call a Professional?
Most T&P valve issues are DIY-friendly, but there are situations where professional help is the safer choice:
- Water is spraying heavily and continuously from the valve, which indicates a possible tank failure or extremely high system pressure.
- You smell gas near a gas-powered water heater while working on it.
- The discharge tube is connected to the inside of the RV compartment rather than routed to the exterior (a safety code violation).
- You replaced the valve and regulated pressure but the new valve still leaks within days.
- You are not comfortable working around gas lines, plumbing connections, or electrical water heater components.
A qualified RV technician or plumber can diagnose pressure issues, inspect the expansion tank, and verify that the full plumbing system is operating within safe ranges.
Common Mistakes People Make
- Ignoring the leak: A dripping T&P valve often signals a real pressure or temperature problem. Left untreated, it can lead to water damage, mold, or a tank failure.
- Plugging or capping the discharge tube: This is extremely dangerous. If the valve cannot release pressure, the water heater tank can rupture. Never block the discharge tube.
- Replacing the valve without checking pressure: This is the most common mistake. If high campground water pressure caused the original valve to fail, a new valve will fail for the same reason unless you add a pressure regulator.
- Using a mismatched replacement valve: Always match the BTU rating and pressure rating on the replacement. An undersized valve may not offer adequate protection.
- Skipping annual testing: T&P valves can seize shut over time from mineral buildup. A valve that will not open when needed is just as dangerous as one that leaks.
FAQs
1. Is it normal for my RV water heater pressure relief valve to drip a little?
Occasional minor dripping immediately after a heating cycle can happen due to thermal expansion and is not always alarming. However, if the drip is continuous or produces significant water flow, it needs to be investigated and fixed promptly.
2. How do I know if my T&P valve is bad or if the pressure is too high?
Use a water pressure gauge on your incoming supply line. If pressure is within the normal range (45 to 80 PSI) and the valve still leaks, the valve itself has likely failed and needs replacement. If pressure is above 80 PSI, address the pressure first before replacing the valve.
3. Can I replace an RV water heater T&P valve myself?
Yes, in most cases this is a straightforward DIY job. Turn off the heater, let it cool, shut off the water, and swap out the valve. The entire process typically takes 30 to 60 minutes with basic tools.
4. How often should I replace the T&P valve on my RV water heater?
Most manufacturers recommend replacing the T&P valve every 3 to 5 years, or sooner if you notice any leaking, corrosion, or the lever feels stiff when tested. Annual testing is also recommended.
5. What happens if I ignore a leaking pressure relief valve?
Ignoring the leak can lead to water damage inside your RV, accelerated corrosion of the water heater tank, mold growth in the storage compartment, and in extreme cases, tank failure. It is always worth diagnosing and fixing the issue promptly.
Conclusion
A leaking RV water heater pressure relief valve is not something to brush off. It is your water heater’s way of telling you that something in the system needs attention, whether that is high incoming water pressure, a worn-out valve, thermal expansion, or a thermostat running too hot.
The good news is that in most cases, diagnosing and fixing an RV water heater pressure relief valve leaking issue is manageable without professional help. Start by checking your water pressure, test the valve, and replace it if it has passed its service life. Add a pressure regulator if you do not already have one, and commit to annual T&P valve testing as part of your regular RV maintenance routine.
When in doubt, or when the leak is severe, calling a licensed RV technician is always the safe and smart choice. A well-maintained water heater keeps your trips comfortable and your rig protected for seasons to come.
1 thought on “RV Water Heater Pressure Relief Valve Leaking? Fix It Now”